
I love apples. That’s no secret. I ran eight miles this morning, which is also no secret. (Though not as widely known as my love for apples.)
Two weeks ago, our church had an outing to a local apple orchard. I took my boys and we had a great time, and I was able to get a picture that allowed me to do this comparison between the time we went in 2011 and the time we went in 2014. Awww…sniff sniff. My boys are growing so fast.
But enough melancholy. This is about pies, after all, and there’s nothing melancholy about that! After I ran eight miles this morning, I decided I deserved a treat. However, we had a hockey practice for JJ, and then a hockey game for Jamie about an hour away, and that took up most of our day. This meant it would have been tough for me to find time to whip up the homemade treat I felt I so richly deserved. Unless…I already had one in the freezer, just waiting to be heated and devoured.
And I know you see where this is going.
Yes, my friends, back when we had the orchard trip, and I had a bazillion apples to use up, I did some Pinterest-ing and found my new favorite thing: Make-Ahead Mini Apple Pies. I actually combined a few different recipes to come up with this, and then added my own flair because, well, I was lacking in necessary ingredients, and improvisation is awesome. Until it fails you in a spectacular fashion. But that was a different day.
No, this recipe turned out fantastic, and the best part is that it made 21 delightful little mini apple pies that I was able to put in the freezer and pull out at a moment’s notice. And today provided that moment!
The recipes I used were Mini Fruit Hand Pies from Foodie with Family and Mini-Apple Pies from Zoomyummy. The first provided the “make ahead” facet I needed, while the second provided the specific filling ingredients. I wanted to use the crust that Zoomyummy’s recipe had, because butter is awesome, but unfortunately, I found I had exactly half a cup plus two tablespoons of butter. Not enough. :/ So, because I’m getting more daring in my old age*, I threw caution to the wind and used my mom’s pie crust recipe, but I substituted half a cup of butter for some of the shortening. My heart was pounding as I did it, but…it turned out pretty frickin’ amazing, if I do say so myself. And I do!
Here’s the Reader’s Digest Condensed Version of how the recipe unfolded. First, the crust.
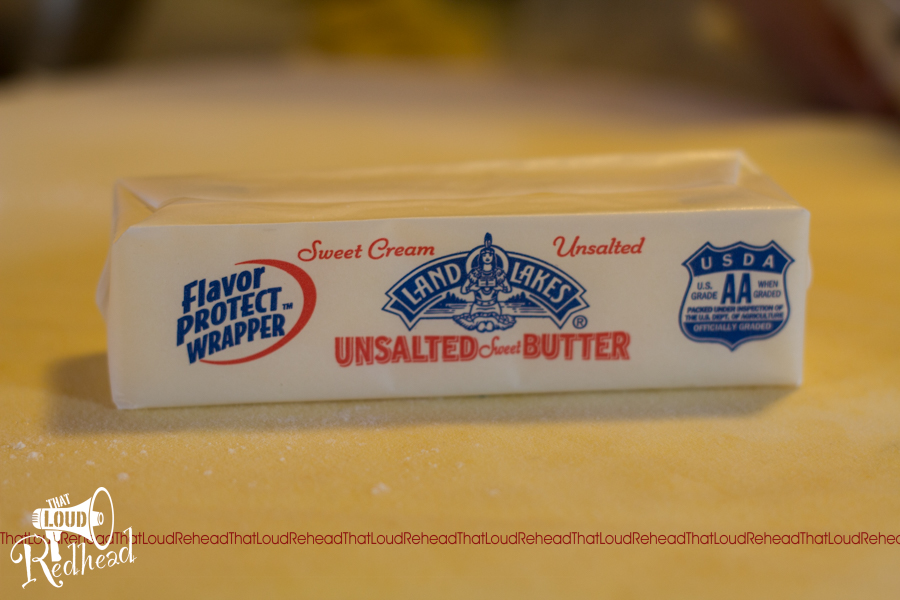
I got some butter.
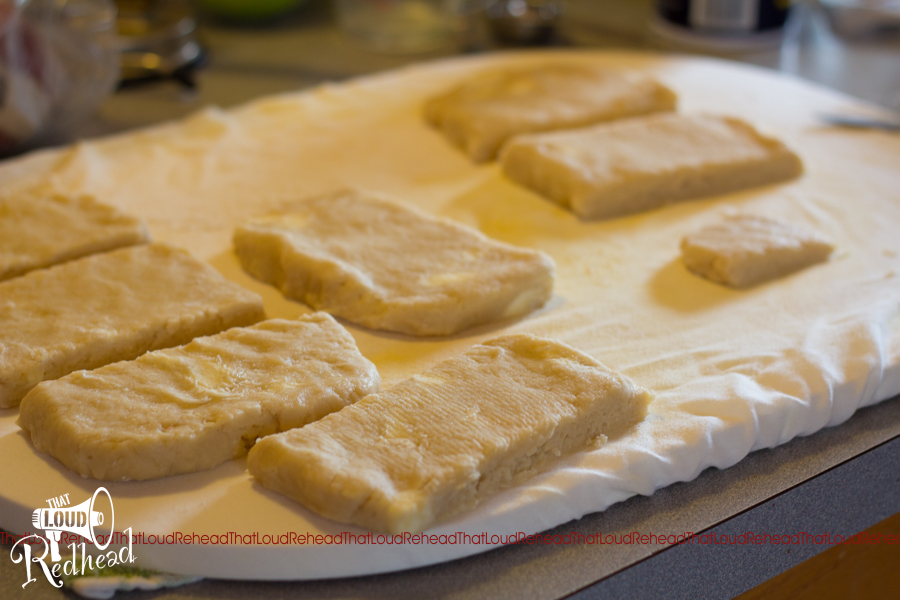
I put together all the ingredients using the original recipe (linked here because I’m lazy), except I substituted ½ cup of butter for 1/2 cup of the shortening. Then I rolled it out in sections to about ½ inch thick and cut the sections into little rectangles.
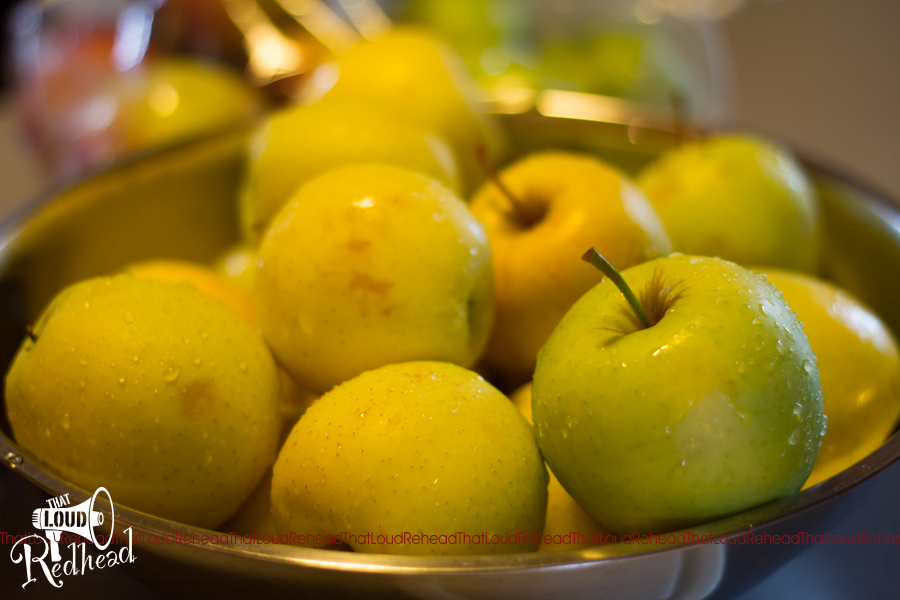
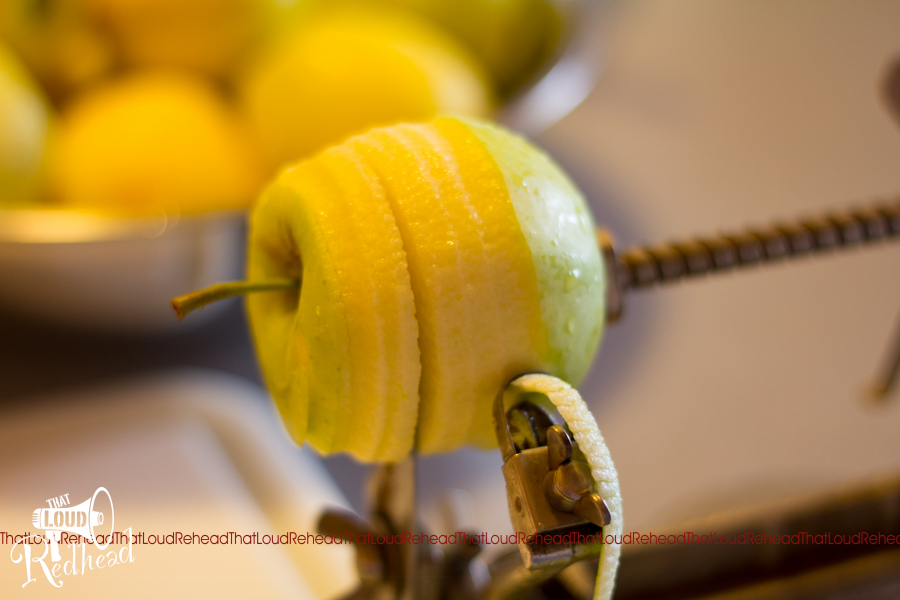
Then I got some apples.
I peeled, cored and sliced them with my apple contraption. (Don’t ask me where I got it. I don’t remember.)
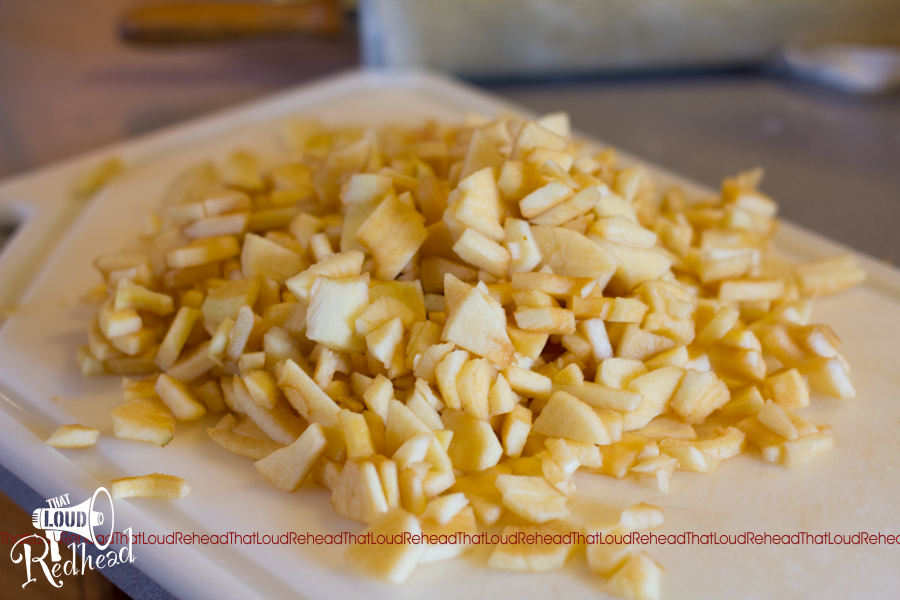
Then I chopped up the apples.
I put them in a bowl, tossed the lemon juice over them, and added all the rest of the filling ingredients.
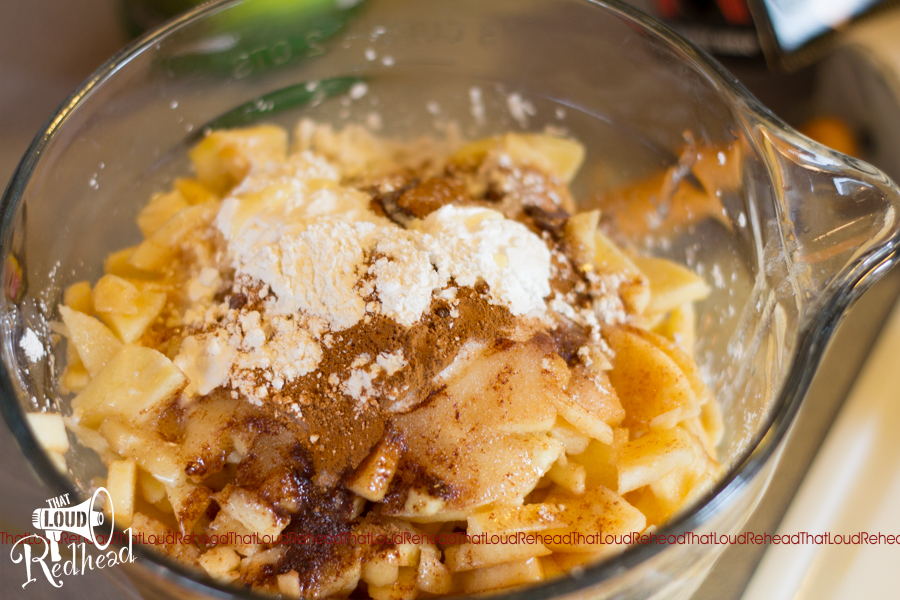
Then I ate some filling. That step is optional. (No, not really.)
Then I grabbed one of the little dough rectangles and put a bit of flour on it.
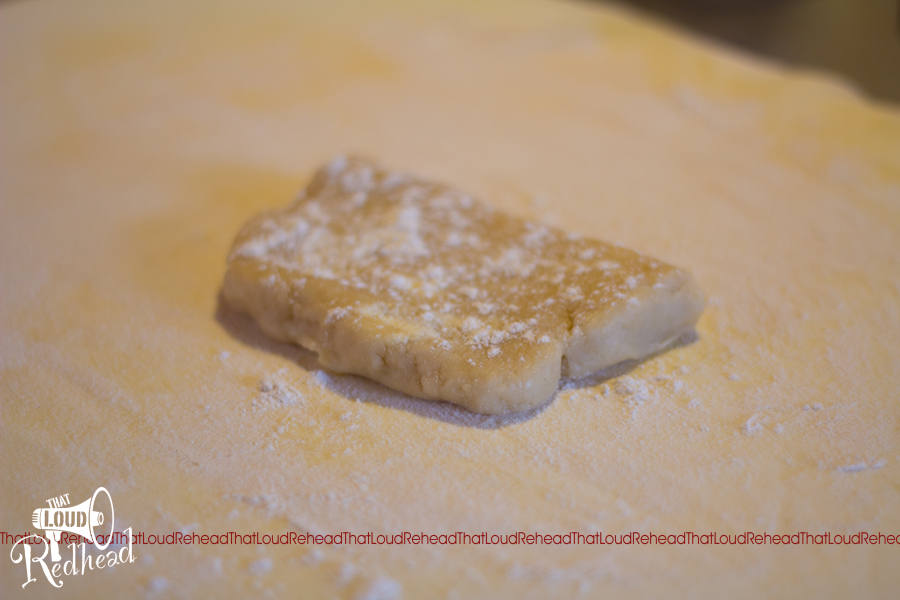
I rolled it out, and prepared to cut it into four sections. The original mini-pie recipe used a pastry wheel, and for the heck of it, I dug into my cooking utensil drawer…and found a pastry wheel! Sweet!! It’s so much prettier that way.
I topped the rectangles with filling.

I won’t lie, this was challenging. It was hard to find the right amount of filling and the right size of rectangle. I had a lot of trial and error before I got it right. That’s why some of my little mini pies are really mini.
I then folded them over and crimped them, then used the cutting wheel to make the edges pretty again. Eventually, I put them on a baking sheet lined with parchment paper.
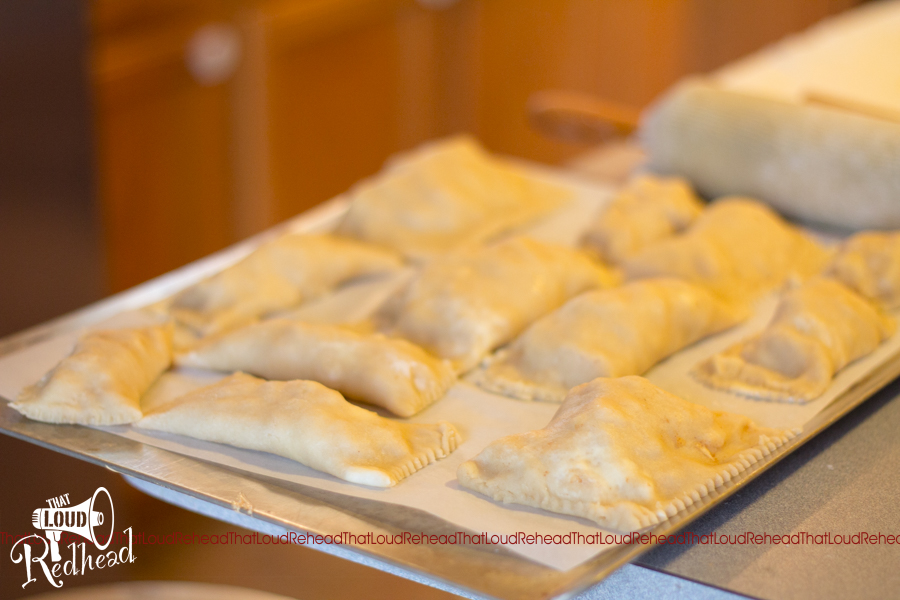

At that point, I put the little darlings in the freezer for four hours, as the Foodie with Family recipe instructed. Once they were frozen solid, I transferred them to sealed freezer bags and let them reside in my freezer for a couple of weeks. (That’s a lie. I cooked some the following night.)
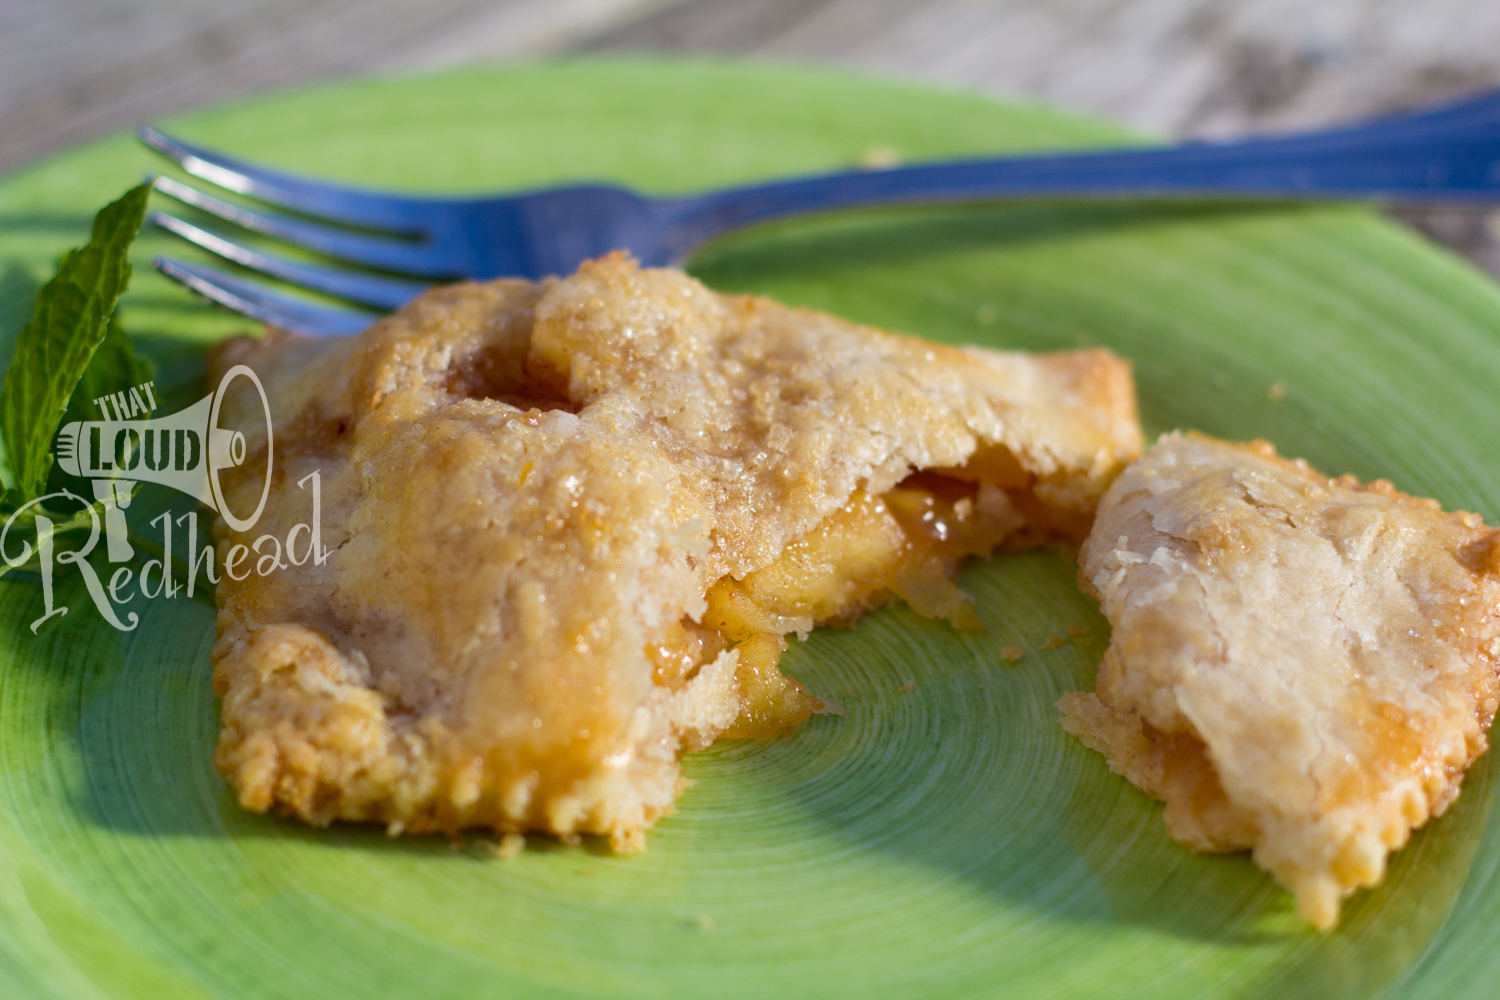
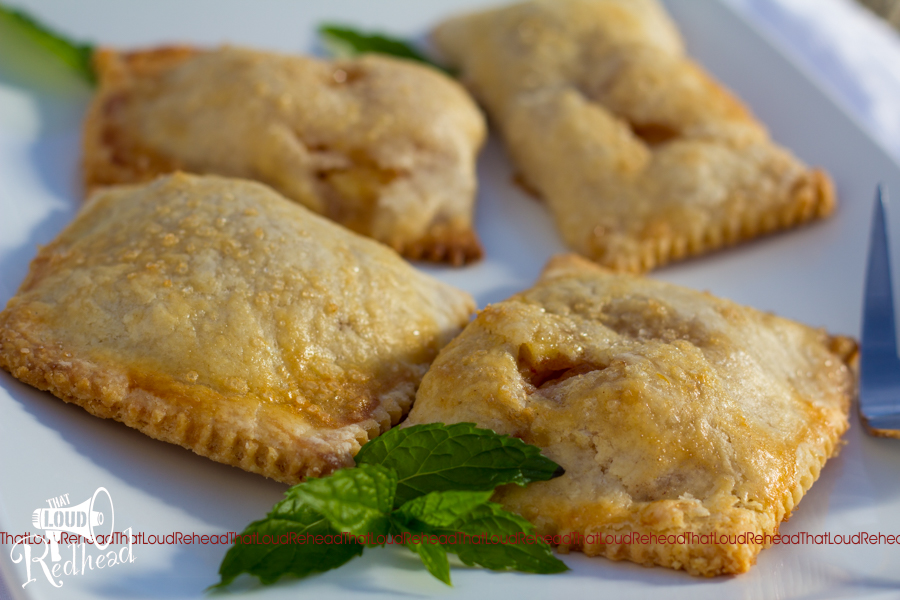
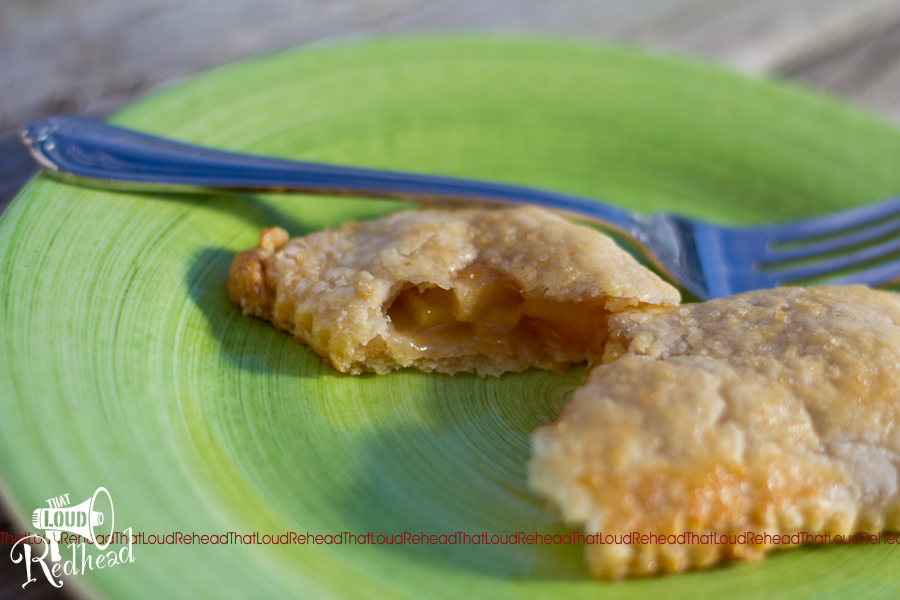
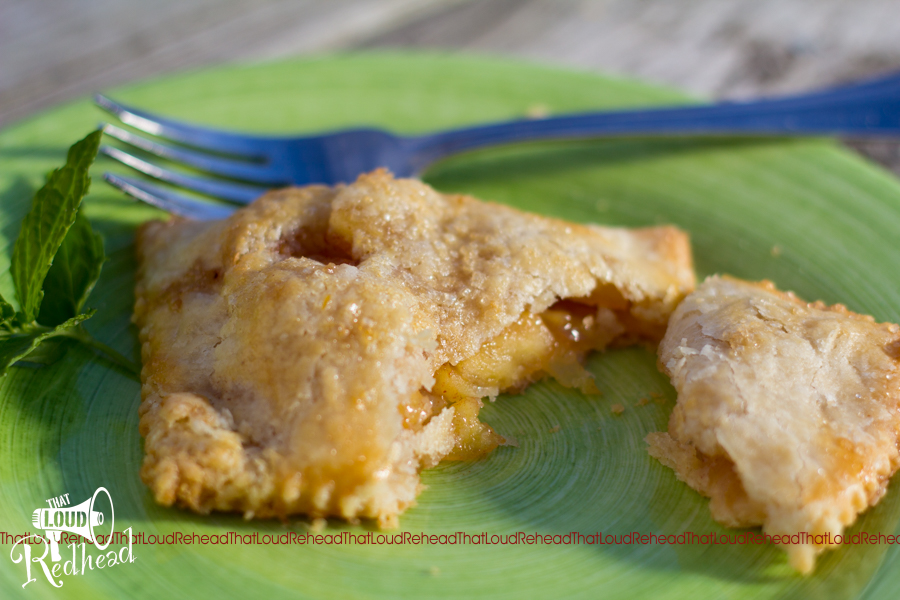
When I took them out of the freezer, I brushed them with beaten egg and sprinkled them with the raw sugar before putting them in the oven. Here’s where it gets a bit tricky…the original recipe said to bake at 425°F for 15 minutes, then turn the oven down to 350°F and bake for another 10-15 minutes. This did not work for me. They actually got burnt around the edges. However, I have a convection setting on my oven, which I use for all my baking, and I believe that makes things cook more quickly (and evenly). I ended up doing 400°F for about 15-17 minutes and they were perfect. Don’t you think?
If you don’t have a convection oven, I would start at 400 °F for 15 minutes and see how they fare. I think they’ll cook pretty quickly no matter what…they’re pretty small!
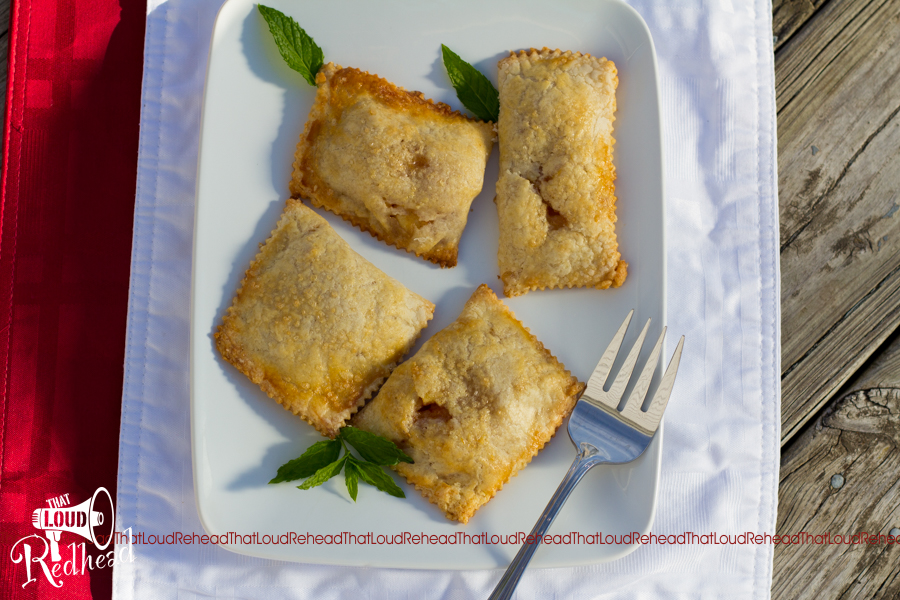
You can see that these are not at all uniformly shaped. My inability to gauge the right size of rectangle at first contributed to this.
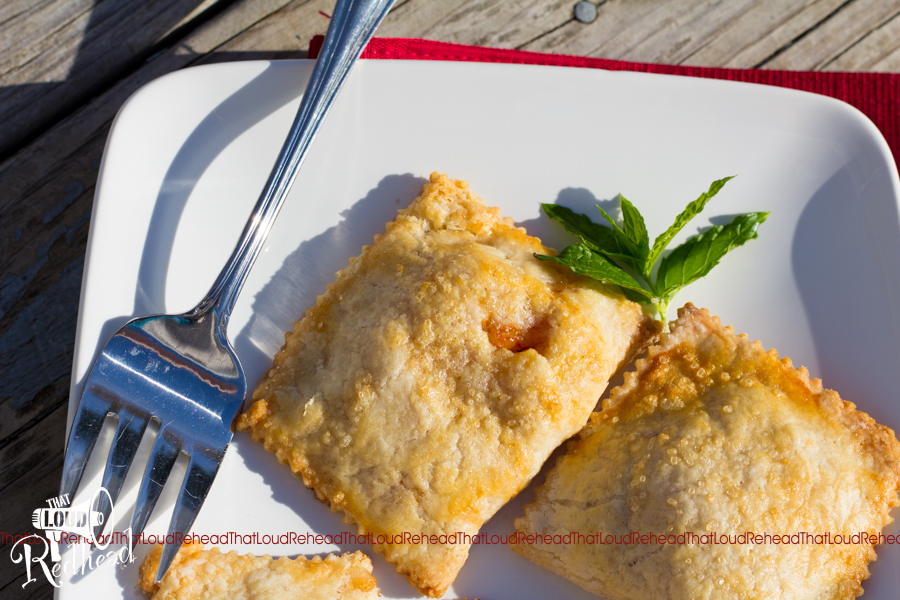
But no matter what size they are…they are delightful. I could eat these things for breakfast lunch and dinner. Truly, the filling is yummy, and my newly-created crust is just amazing. So flaky and delicious with the little bit of butter added. I guess I’m going to have to break it to my mom this year at Thanksgiving that I’ve completely altered her tried-and-true crust recipe. :0
What I love most about these is that, with just a little pre-work on a free afternoon, they make it so easy to have apple pie any time. This apple-pie-lovin’ girl gets all smiley over that. 😀
When it comes to points values, that’s a bit tricky. The truth is, I used the measurements from my original crust recipe, but I ended up having a good hunk of unused dough leftover. Next time, I would probably use more apples and make more filling, which of course would increase the number of servings. So…I say these are 9 points each, but the reality is, without having used all the crust, it was probably more like 7. Sorry that I’m not real “hard and fast” on this one, but sometimes, recipes just aren’t that way!
At any rate, I hope you enjoy them! Thanks for reading!
Make-Ahead Mini-Apple Pies
Adapted from Mini Fruit Hand Pies from Foodie with Family and Mini-Apple Pies from Zoomyummy

For Crust
- 4 c. all-purpose flour
- 3 tbsp brown sugar
- ¼ tsp salt
- 1/8 tsp baking powder
- 1 egg
- cold water
- 1 tsp white vinegar
- 1 ½ c. shortening (Crisco)
- ½ c. unsalted butter
- 1 beaten egg
- ½ c (approximately) raw sugar
For Filling
- 8 medium apples, cored and diced (I used golden delicious)
- ½ c. white sugar
- 1 tbsp lemon juice
- 1 tsp ground cinnamon
- ¼ tsp salt
- 2 tbsp unsalted butter
- 1 tablespoon cornstarch
To make the crust
- Mix the flour, brown sugar, salt and baking powder.
- Beat egg in a one cup measure, then add enough cold water to make ¾ cup. Add 1 tsp. vinegar.
- Add the liquid to the flour mixture and combine. Cut in the shortening and butter with a pastry blender at first, then finish with your (clean) hands to get the small shortening chunks to melt into the dough.
- Make the rectangles: roll out the dough in sections, but only to about 1/2 an inch think. Then pat the dough with your hands into little rectangles, about 2.5 inches by 4.5 inches. (That’s such a guestimate, it’s not even funny. Sorry. I’m really bad with measurements. Use the pictures above as your best guess.) Chill the rectangles in the fridge for about 20 minutes.
To make the filling
- Placed chopped apples in a bowl.
- Add sugar, lemon juice, salt, cornstarch, and cinnamon.
- Melt the butter and add it to the apple mixture. Mix it all together.
To make the pies
- Roll out a dough rectangle to a flatter rectangle about 10 x 12 inches. (Or larger…I think that’s what I’d do differently next time.) Use a knife or a pastry wheel to cut it into fourths.
- Put a little filling on one side of each quarter and fold over the edge, crimping to seal. Use your pastry wheel to make a pretty edge if you like.
- Place the mini-pies on a parchment-paper lined baking sheet. When all are assembled, freeze them for four hours. Once frozen, put them in resealable freezer bags and keep in the freezer for…as long as you can stand it before you devour them all?? 😉
- Before baking, brush with beaten egg and sprinkle with a tsp or less of raw sugar. Bake frozen pies at 400°F for 15-17 minutes. Time is approximate. Just watch them and use your best judgment.
Then eat and enjoy!
WW Points Value: As mentioned above, this one is tricky. Somewhere between 7-9, depending on whether or not you have any leftover pie dough. Go with 9 if you don’t like living on the wild side. 😉
*Normally I’m such a rule follower, I won’t even take a rental car out of the state in which it was rented because the contract says you aren’t supposed to. True story. Ask my husband.