Well, clearly it’s been a long time since I posted anything. Hey, I’m a hockey mom. You think I just sit on my butt and watch Castle every night?? (Actually, I don’t watch it at all, but I’ve heard it’s good and hope to catch up on a few episodes when my kids go to college…) I had hoped to do periodic updates, like once a week, but that fell apart during playoffs, a late-season tournament, try-outs, and all the fun that comes with spring hockey–now times 2! So, I will try to catch up as I can. And honestly, since this blog is more for my edification than for anyone else to really read, it really doesn’t matter, does it? So, here is post #3, which I wrote up March 9…
____________________________________________________
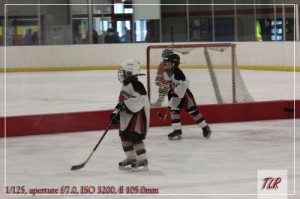
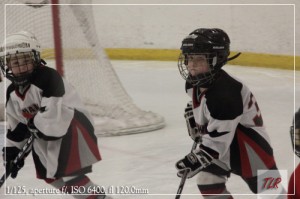
Eventually, I got to use my own camera to take hockey pictures. Sadly, I still had no idea what I was doing. I bought a book (I’ll discuss that later) and I’d read a little bit by this time and had learned some very basic info about aperture, shutter speed, and ISO. Okay, I’ll confess: I read about them, but I didn’t actually learn anything. It is still way over my head at this point, as demonstrated by my first hockey pictures using my new camera.
I stopped by a Mini-Mite game at the rink to let DS#2 get an idea of what he’ll be doing in the spring (he was in the instructional program when I took these pics). I took a few shots and messed around with the dial a little, but unfortunately, I’ve discovered I need to keep better track of my settings while I’m taking pictures. After I was all done and went back home, I couldn’t really tell which pictures I did with the Av (aperture priority) setting, which with the Tv (shutter priority) setting, which with the Action setting, and which on full Auto. But to be completely frank (or Bob, or Eugene), it doesn’t really matter. I didn’t do much with the settings once I changed the dials. One nice thing, though, is while I’m not sure when the camera was making the decisions for me and when I was taking a stab at doing it myself, the settings are all saved within the image file, so at least I can see what the settings are, at any rate.
Lesson learned today: take some notes so that when I get home, I can compare the manual settings I used with the actual photographs!
I shoot through the glass, so that’s one of my big challenges. Still, shooting through the glass with a DSLR is better than with a point-and-shoot!
A lot blurrier than I’d like, but I will freely confess I had no idea what I was doing. (Still don’t for the most part, ha ha!)
Wow, pretty high ISO on this one, eh? Like I said, I don’t know what I was doing, but it was fun watching the kids. Thankfully, these were mini-mites, so they weren’t too fast.
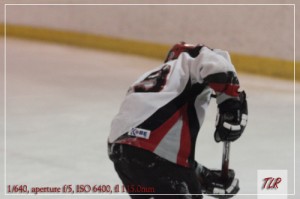
I mentioned in an earlier post that I bought “Noise Ninja” to help me clear up some of the noise. The shot above was the original as it came out of the camera (after I processed it in the Canon Software, of course.)
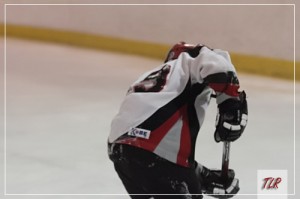
Here’s the same photo after processing with Noise Ninja at the standard settings. A little better, I guess, but I’m not positive it was worth the $50 I spent on it. Maybe once I take better pictures, the adjustments needed will be more slight, and then it’ll be more useful.
Thanks for looking at my first attempt!


