So, you want to make jam? Or, you just want to know what all the fuss is about? Or, you got here by mistake and you can’t click the “back” button fast enough? 😉 Whatever your reason for being here, my goal with this post is to show you, in pictures, how to can your own strawberry jam. 🙂
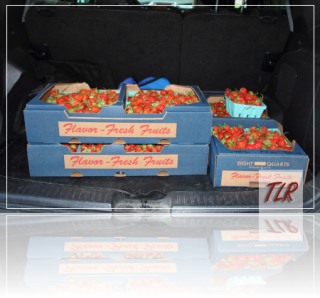
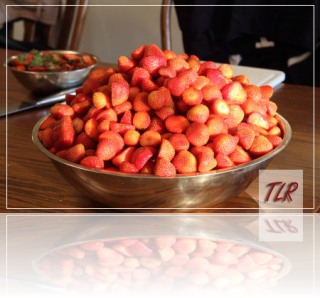
To start off, buy yourself a shitload of strawberries. 😉 Like this…
That’s 25 quarts, but I let the kids eat 3 of them. Wasn’t that nice of me?
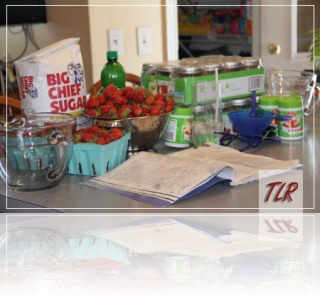
When you get home, gather all your stuff. You’ll need jars (with lids and bands), a jar lifter, a funnel, a lid lifter, some big measuring bowls, a lot of pectin, a metric ton of sugar, some lemon juice, and, of course, the strawberries. Note that the ancient, stained book of canning recipes is optional, but very helpful. (Mine is from 2004.)
You should be able to find all this stuff at Wal*Mart or Meijer.
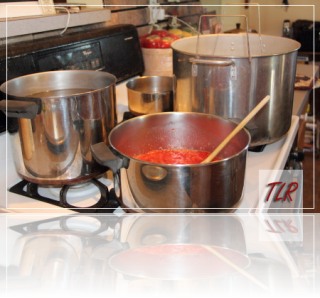
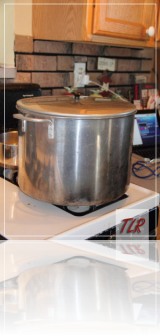
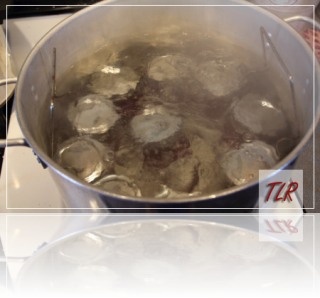
Set up your canning stuff: wash your jars, lids and bands in very hot water. (I usually just do it in the dishwasher.) Fill a big canning pot (with rack) about ½ to 2/3 full with water, then put it on the stove to boil. It takes a long time to boil that much water, so it’s best to start it before you start the rest of the canning process. Here’s a shot of what my stove looks like with all this stuff on it.
Once the jars are clean, put them in a pot of simmering water to keep them sterile and also to keep their temperature high enough so that when you put the hot jam in, they won’t break. You will also need to put your lids in simmering water. The bands don’t need to be sterile, so just set them within reach.
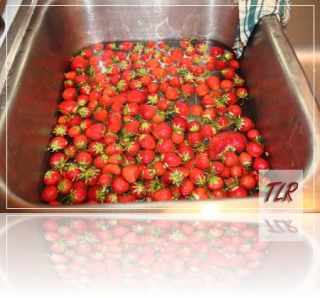
Now it’s time to prep your fruit. Wash your strawberries.
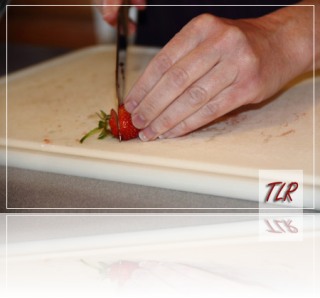
Remember earlier when I said there were 22 quarts of strawberries? Well, every last one of the little suckers had to be hulled. (That’s a fancy way of saying “cut the top off.”)
Eventually, you’ll end up with a whole bunch of beautiful strawberries.
Feel free to eat a couple…but only a couple! 😉
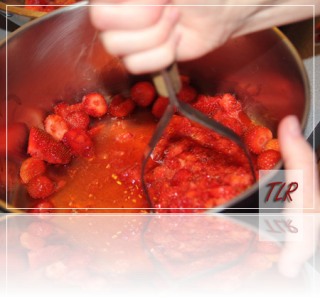
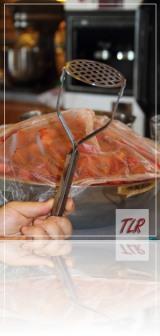
Once the berries are hulled, you have to mash them. Put a single layer of strawberries in a large pot, and mash.
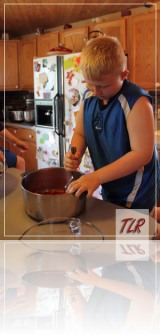
Friends are helpful to share the burden on your wrists.
It also helps to have a really old masher, because the newer, plastic ones do not crush nearly as well. If you’re lucky, your significant other might find one for you at a yard sale for 75 cents.
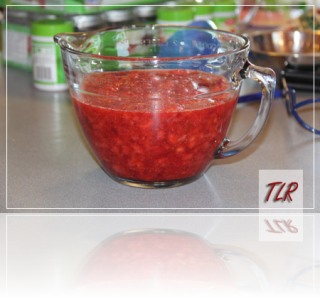
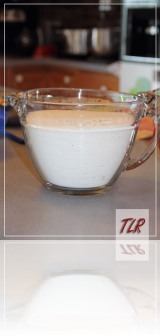
Put each layer of mashed strawberries in a measuring bowl.
]
Continue to mash in single layers until you get five cups worth.
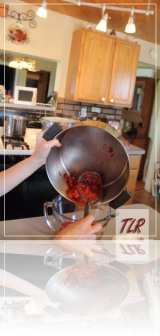
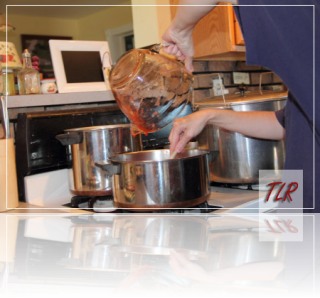
Pour the strawberry pulp into a large pot (can be the same large pot you mashed them in).
Add 1 box or 6 Tbsp of pectin. (Pectin is found naturally in fruit, but adding the extra helps the jam to “set.”)
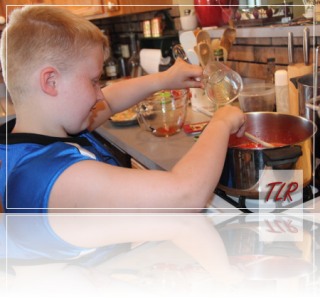
Add ¼ cup lemon juice (helper optional).
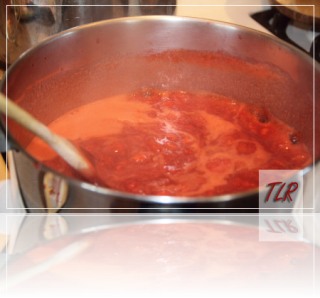
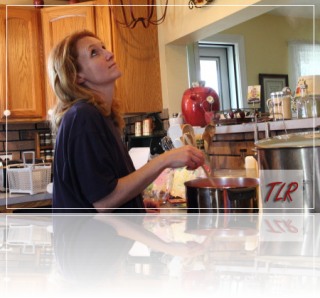
Cook and stir the mixture til it comes to a full, rolling boil. You must stir it continuously while it cooks to keep it from burning or boiling over. And when I say rolling, I mean ROLLING…not just a little bit of boil, but the kind of boil that is so intense it can’t be stirred down.
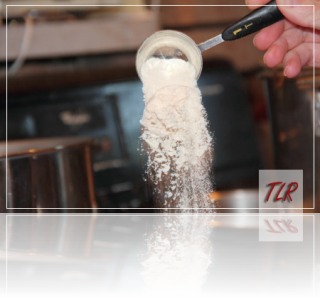
Next, measure out 7 cups of sugar.
Hey, I never said there was anything “diet” about this recipe.
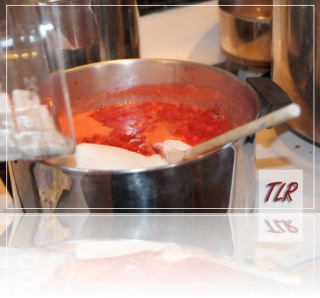
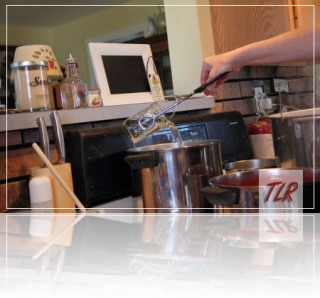
Pour the sugar into the boiling strawberries.
Stir it in to make sure all the sugar dissolves.
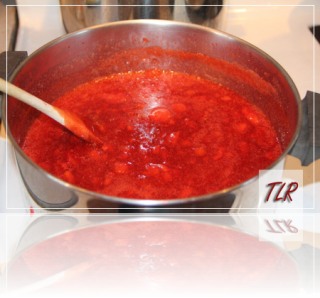
Then continue to stir.
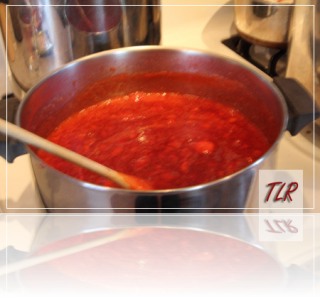
And stir…
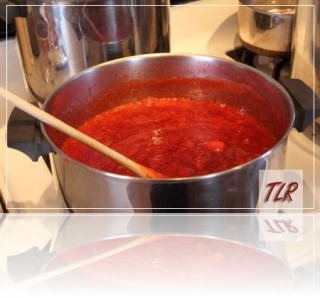
And stir…
…until it once again comes to a full, rolling boil that can’t be stirred down. This is such a long process. It helps to have a magazine or something else to read or watch while you’re just sitting there stirring. Once it’s at a rolling boil, boil it for one minute and then turn off the burner. You can skim off the foam if you wish, but I’m lazy and often don’t.
Now, it’s time to actually can!
Pull your first jar out of the hot water, making sure to empty all the water.
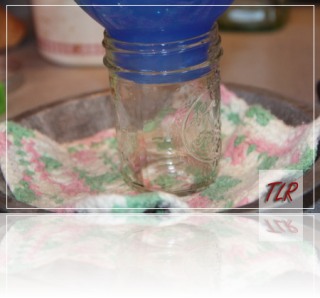
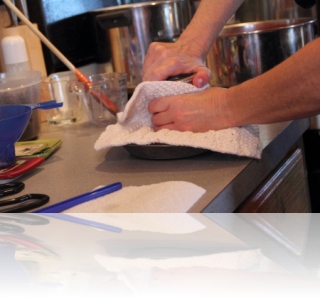
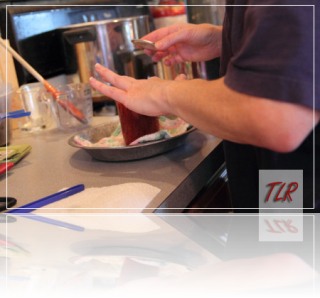
Set it on a hot pad or dish cloth to protect your counter. I like to put mine in an old tin pan to make it easier and control the mess. Because, believe me, it does get messy.
Put your funnel inside.
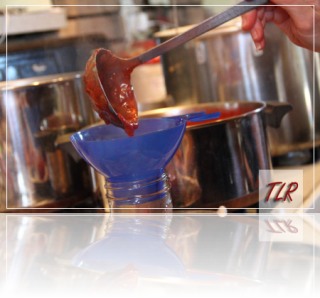
Using a large ladle, put the hot jam mix in.
Fill it to about ¼ inch from the top (you need some space in there for expansion.)
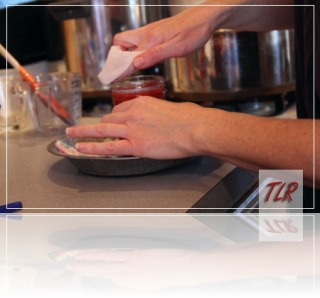
Yummy! Now, wipe the top of the jar and around the sides of the jar with a damp cloth or paper towel.
This is a very important step—any jam or other residue left on the top of the jar may interfere with the sealing process. If your jars don’t seal perfectly, your jam will go bad. And then it will probably end up in jail or on America’s Most Wanted. (“When good jam goes bad…”)
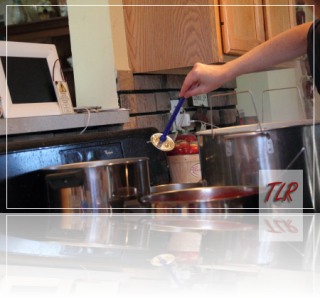
Now, using your lid lifter, pull a lid out of the hot water, dry it, and place it on top of the jar. I always run my finger over the top one last time before I put the lid on to make sure it’s clean. It’s a lot of work, but in 8 years, I don’t think I’ve ever had a jar not seal!
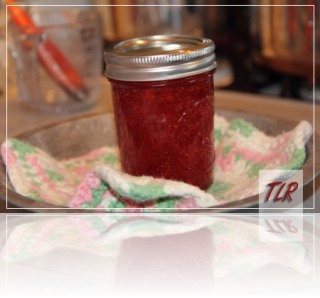
Holding the jar with a pot holder or cloth (it’s hot!), twist the band on top, finger-tip tight (ie, don’t force it, just tighten it as best you can). This will help ensure the seal.
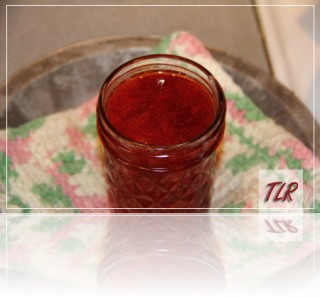
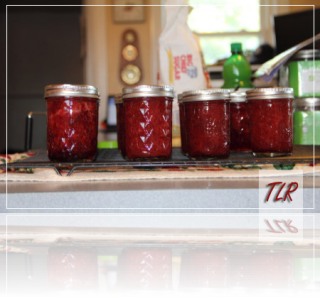
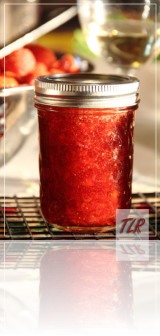
Isn’t it beautiful?
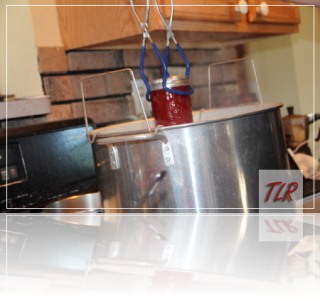
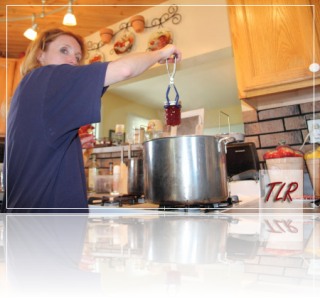
Using your jar lifter (remember, the jar’s hot!), put the jar in the boiling water on the canning rack.
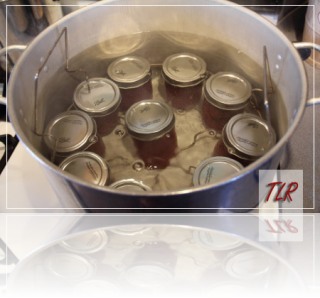
Do that about 8 or 9 more times, until your canner is full.
Put the lid on.
Turn the heat up to high (if it isn’t already) and let those puppies boil! Boil them for 10 minutes to ensure that all the bad germies are killed. After 10 minutes, take the top off…
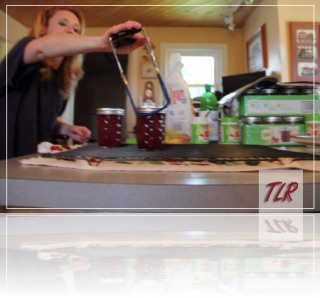
…and start removing the jars with your jar lifter.
Put them on a cooling rack.
And let them cool.
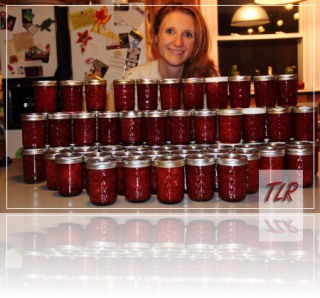
When they’re all completely cool, you can get a picture of yourself with them to illustrate your hard work.
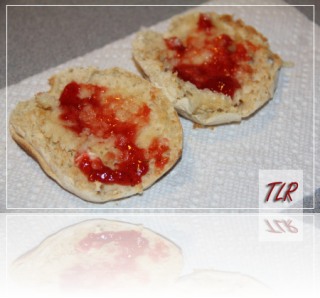
Or, you could be less of a show-off and just quietly put them up for winter. 😉 Or better yet, you could just crack open one of those babies and enjoy yourself some awesome jam!!
Sooooo…goooooooooood…
Thanks for reading my jam post! I hope you’re inspired to try it yourself! You can do it on a much smaller scale than I do. 😉 The pectin company (Ball canning) has recipes on their site and on their pectin packages to halve my recipe, and I did do a half recipe this weekend at the end when I ran out of strawberries, with success.



Yet another reminder that I don’t have a Meijer near me. 🙁
Seriously, well done, Steph. Can’t promise that I am going to can some jam, but I am confident I could do it with your tutorial. Now, I want some jam…
Sorry…Meijer is the best! But I actually get most of the stuff at WalMart, because they have really good prices on the canning stuff. You could totally make a half batch–it’s really easy and so yummy!! 🙂
wow tons of work!!! Could I just put in an order? 🙂 I would be happy tou buy a few if you had a few to sell.
Andrea, you can just have one. 😉 Find me at Christmas time and I’ll make sure you get one. A reward for all your hard work!
Damn that is a lotta jam! (I crack myself up!) Thanks for sharing! I can’t wait to try it! I have always wanted to “can” last year I made pickles from the cucumbers out of my garden and they were ehhh….alright. Going to head to the farmers market after my 5K tomorrow!
LOL, Christie, you totally crack me up, too!! Good luck tomorrow and enjoy those strawberries!!